This year's Master Maker--presented by CreativeLive--is the incredibly talented Robert Mahar. Robert's career has run the maker and artist gamut and brings a WEALTH of knowledge to his online and in-person workshops. Last week, AHAS hosted a himmeli decor-making party that was generously sponsored by CreativeLive. We noshed on snacks, made 35 Himmeli octahedrons, and had an awesome, maker-schmoozing time! A BIG thank you to Sienne for being our lead instructor and demonstrating Himmeli construction for us in-person. If you weren't able to attend the party, you're still in luck! We took tons of pictures and have a super-simple tutorial so that you can make your very own, stunningly elegant, statement-piece, Himmeli mobiles! Enjoy!
Octahedron Himmeli Supplies
Cocktail Straws (12 are used per octahedron): We used black 7 1/2" ones for our himmelis because they create a big impact, but the straws are also sold in 5" varieties. In Robert's CreativeLive videos he goes into more detail about his straw preferences and why certain straws are good for certain himmeli mobiles.
You can also use paper straws like these from our #ahasawards sponsor Paper Mart. If you are dong this project with kids, the bigger straws are easier to deal with in my opinion. They are also fun because they come in fun patters and colors.
Thread: Specifically, "button and craft thread" because it is so stiff, yet thin. If you are using bigger straws like paper ones and doing this with kids, rattail is also nice because it's so easy to thread.
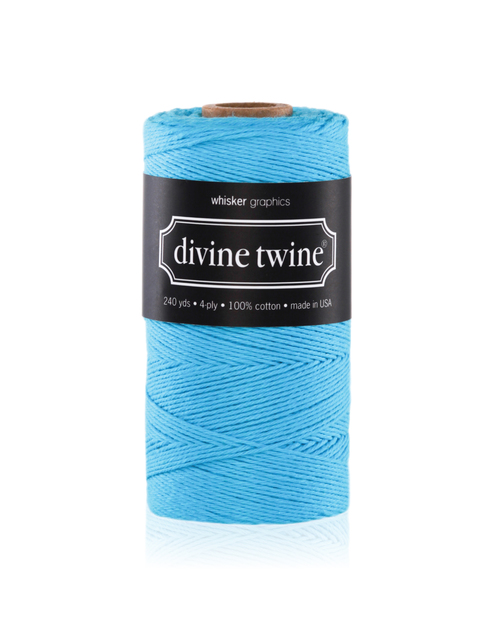
Tassels: We made our decor tassels using Divine Twine from our sponsor Whisker Graphics and a tool from another sponsor The Loome. For our awards (which will be mini himmelis), we've opted to use these smaller pre-made tassels from Paper Mart. Both have different looks that are equally great!


You'll also need scissors for the tassels and octahedrons and a ruler if you're a stickler for getting things just so.
Assembling the Octahedrons for the Himmelis
These instructions are for the octahedrons which are the core structures for the himmelis. Once you know how to make these you can start assembling them using a string and other straws to cover the straws to start to make the actual mobile part.
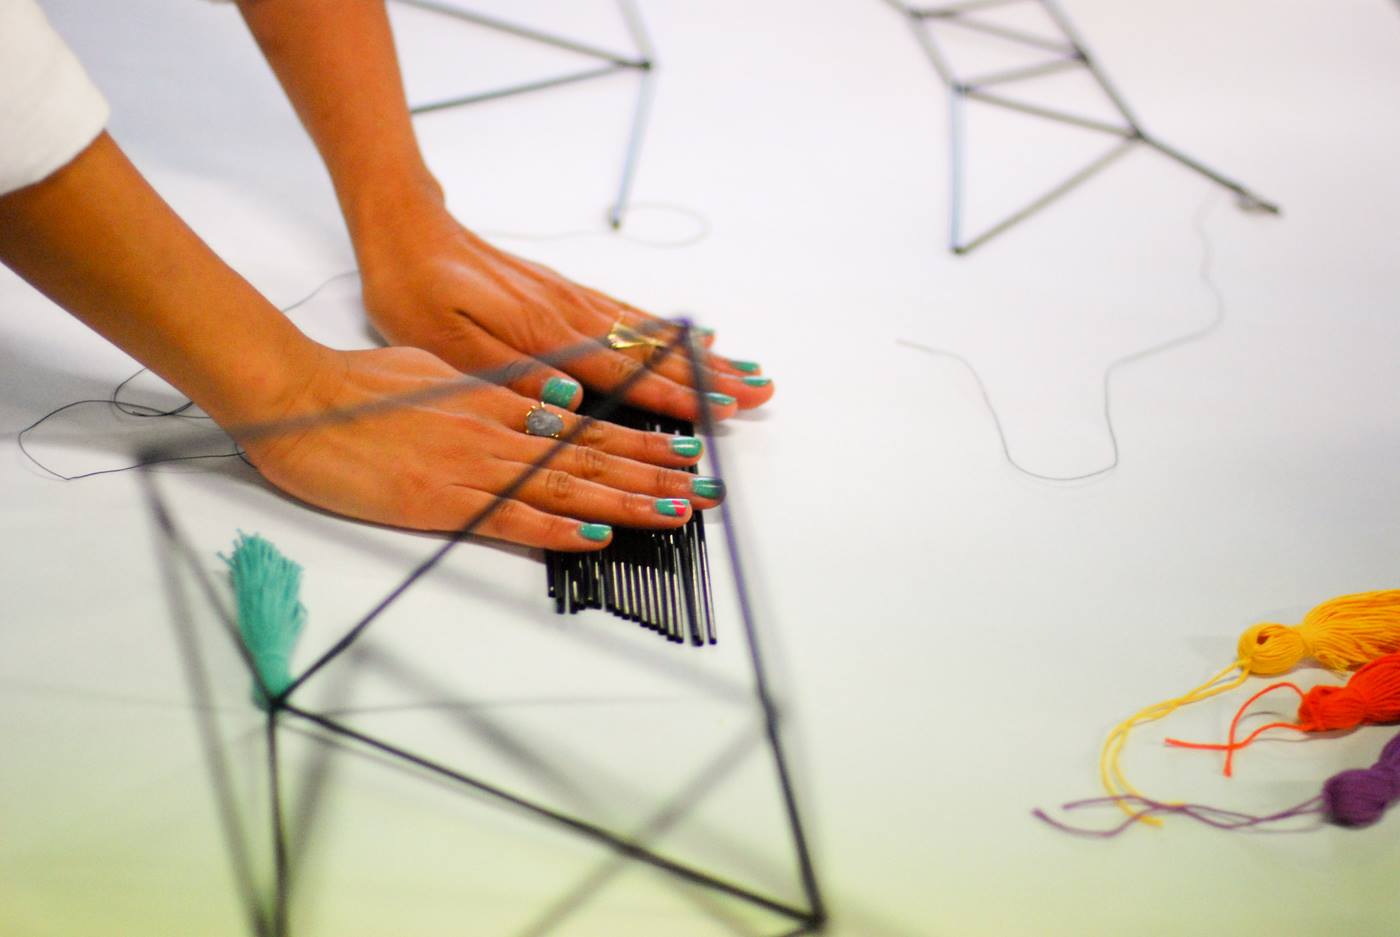
Step One: Measure and cut five feet of craft thread (You can easily tie on more thread later if you short it. The knot will easily be hidden in a straw). Slip the thread through three straws and center them on the string.
Step Two: Orient the three straws into a triangle shape, making sure one end has a tail that is at least two inches long. The other side will have a much longer tail. Tie the thread into a simple double knot at the top of the triangle.
Step Three: Feed two additional straws onto the long thread. Lay it down so that the point of the triangle is facing away, with the two additional straws and thread branching out to the right.
Step Four: Bring the straw to the furthest right down until its tip touches the lower right corner of the triangle. This will create a second triangle. Loop the long end of the thread through the lower right corner of the original triangle to hold the new triangle in place.
Pinch the bottom intersection of the two triangles between your thumb and forefinger, then weave the thread through the bottom of the new triangle again and hold it with your left hand. Using your right hand, create a loop with the thread outside the triangle and weave the thread inside the triangle through it to create a knot. This will hold the two triangles tightly together.


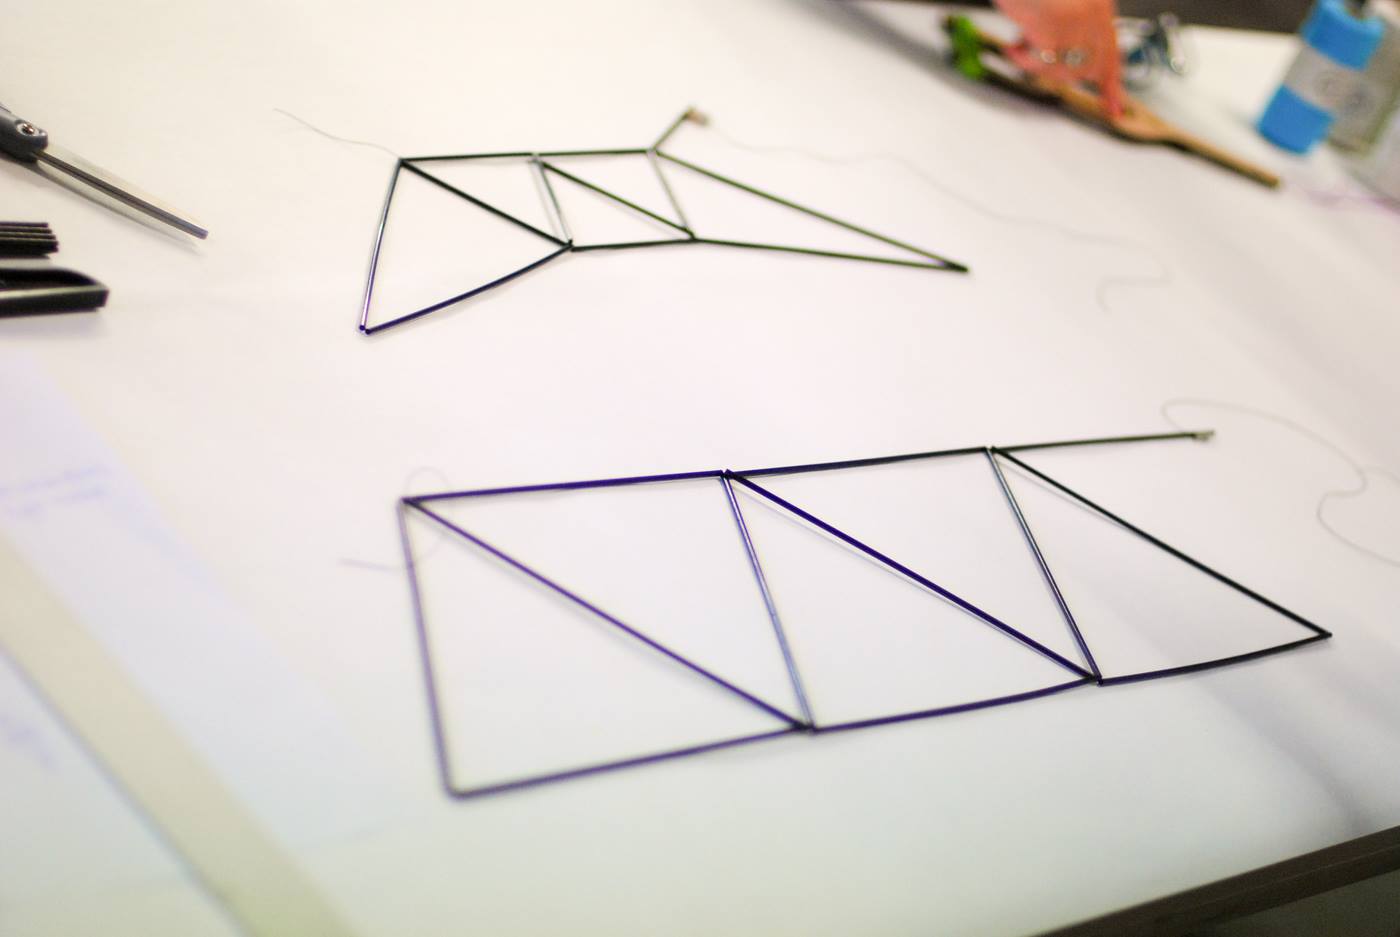
Step Five: Add two more straws to the long end of the thread and repeat step four, tying the end of the new triangle to the top of the second triangle. This creates three triangles, side by side, intersecting.
Step Six: Add two more straws to create a fourth triangle, using the above steps.
Step Seven: Complete the octahedron by adding two straws to create a fifth triangle.
Step Eight: Add the final straw to the long tail of the thread.
Step Nine: Connect the long tail to the two-inch short tail you left at the beginning. Tie a knot in the two threads at the end of the final straw. Trim off the excess thread.
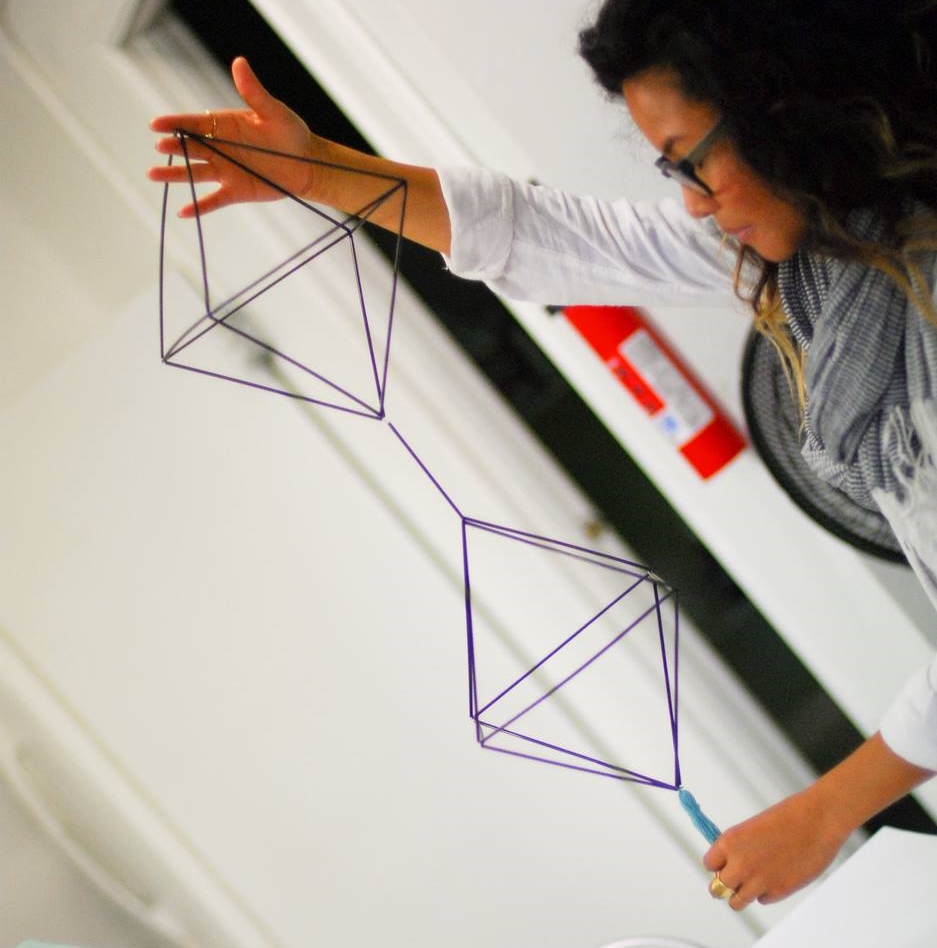
Step Ten: Hold the structure up. There should be a pyramid form on the bottom, with two wing-tipped ends. Pull those ends together at the top. With a new piece of thread, double knot the ends together to form your finished Himmeli. Marvel at how it magically transformed from a flat row of triangles to an amazingly kinetic, three-dimensional diamond shape!
Thank You Sponsors!